
OK, so the above image has nothing to do with fixing damage to the gearbox, but it’s where the chassis is at the moment. This is completely irrelevant, actually, so let’s move on and pretend it never happened. Let’s see what an evening with drills and files can do for you…
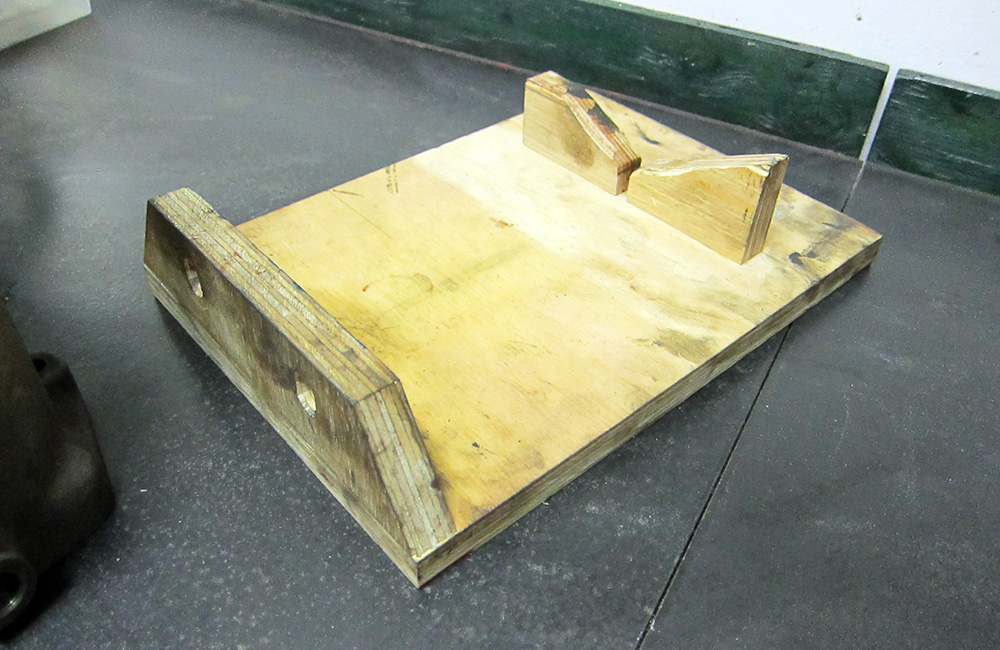
I knew the home-brew Moss gearbox stand, used when restoring the E-Type, would come in handy!
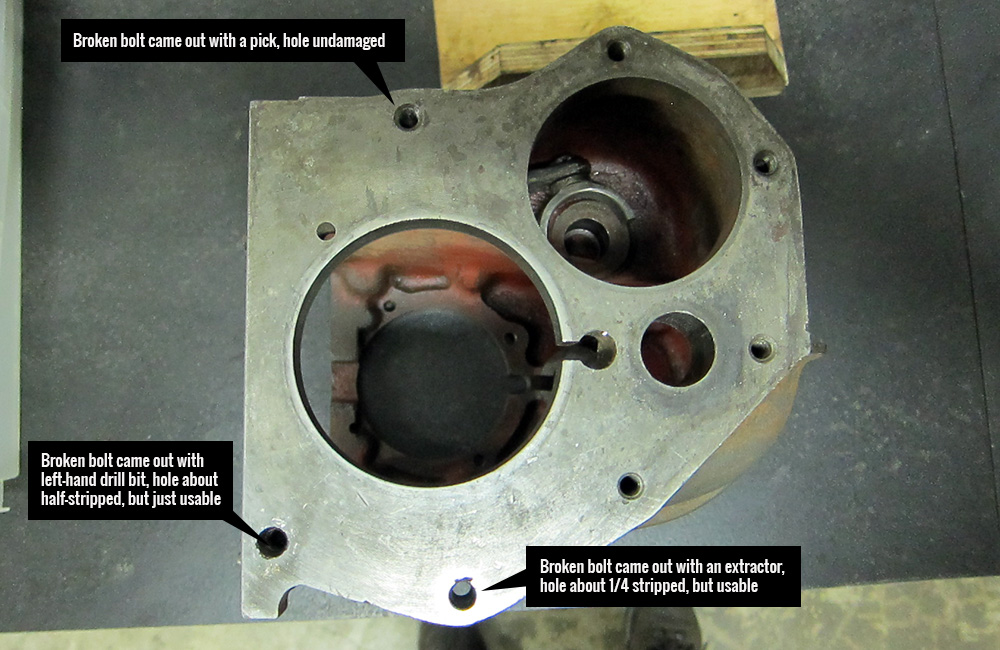
My emphasis on “usable” in the above photo is due to the BSF 5/16 – 22 bolts which go into the holes, not a Helicoil size you can find on the shelf (or in my set of standard coils). Thankfully, the original bolts only used about half the depth and I can make all of these holes work, I think.
It amuses me the bolts came out each using one of three common methods (that don’t involve drilling them out entirely):
- Use a pick to catch an edge to unscrew the remains
- Use a left-hand drill bit to drill a hole for an extractor. Sometimes just the act of the bit going into the remains in the same direction needed to twist them out will be enough to, er, twist them out
- If neither of the above works, use an extractor
So yay for not having to drill and put in SAE Helicoils.

I took a few minutes to sand the end of the magnesium extension to make it reasonably flat. There’s a fairly thick gasket here, but every little bit of assistance said gasket gets helps keep the oil from simply pouring out.

This is where the clutch release bearing is attached to the pedal linkage, and the pin wears against the magnesium making for a lot of effort to push the clutch. Ron at Mad About Morgans has a tech tip about repairing the wear…I basically copied it verbatim, and it should now last indefinitely. I hope.
looking better all the time…. onward!! cheers, J.