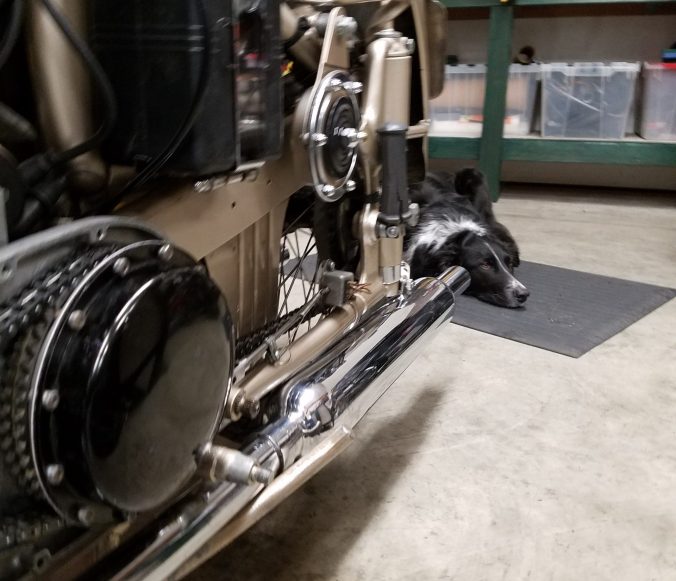
Well, after an adventure chasing parts, finding some NOS 70-year-old bits on shelves all over North America, and doing a bit of a bodge, the BSA is back together and (hopefully) ready for riding again. You can see the supervisor of this work is pretty unimpressed in the photo above, but what does he know? Inside are a bunch of parts pictures if you like that sort of thing!
Clutch From Stripdown 25 Years Ago
As you may recall from my previous missive, the clutch needed replacing because the seal failed, introducing oil into the clutch and while investigating that I discovered the whole assembly was worn out, and probably was when I put it back together!
Not only was my decision to put those pieces back in the bike a puzzle, but also why I left out one pair of driven/plain plates…the assembly should have five plain steel plates and five plates with linings on them, and yet I only put four back in. Why?
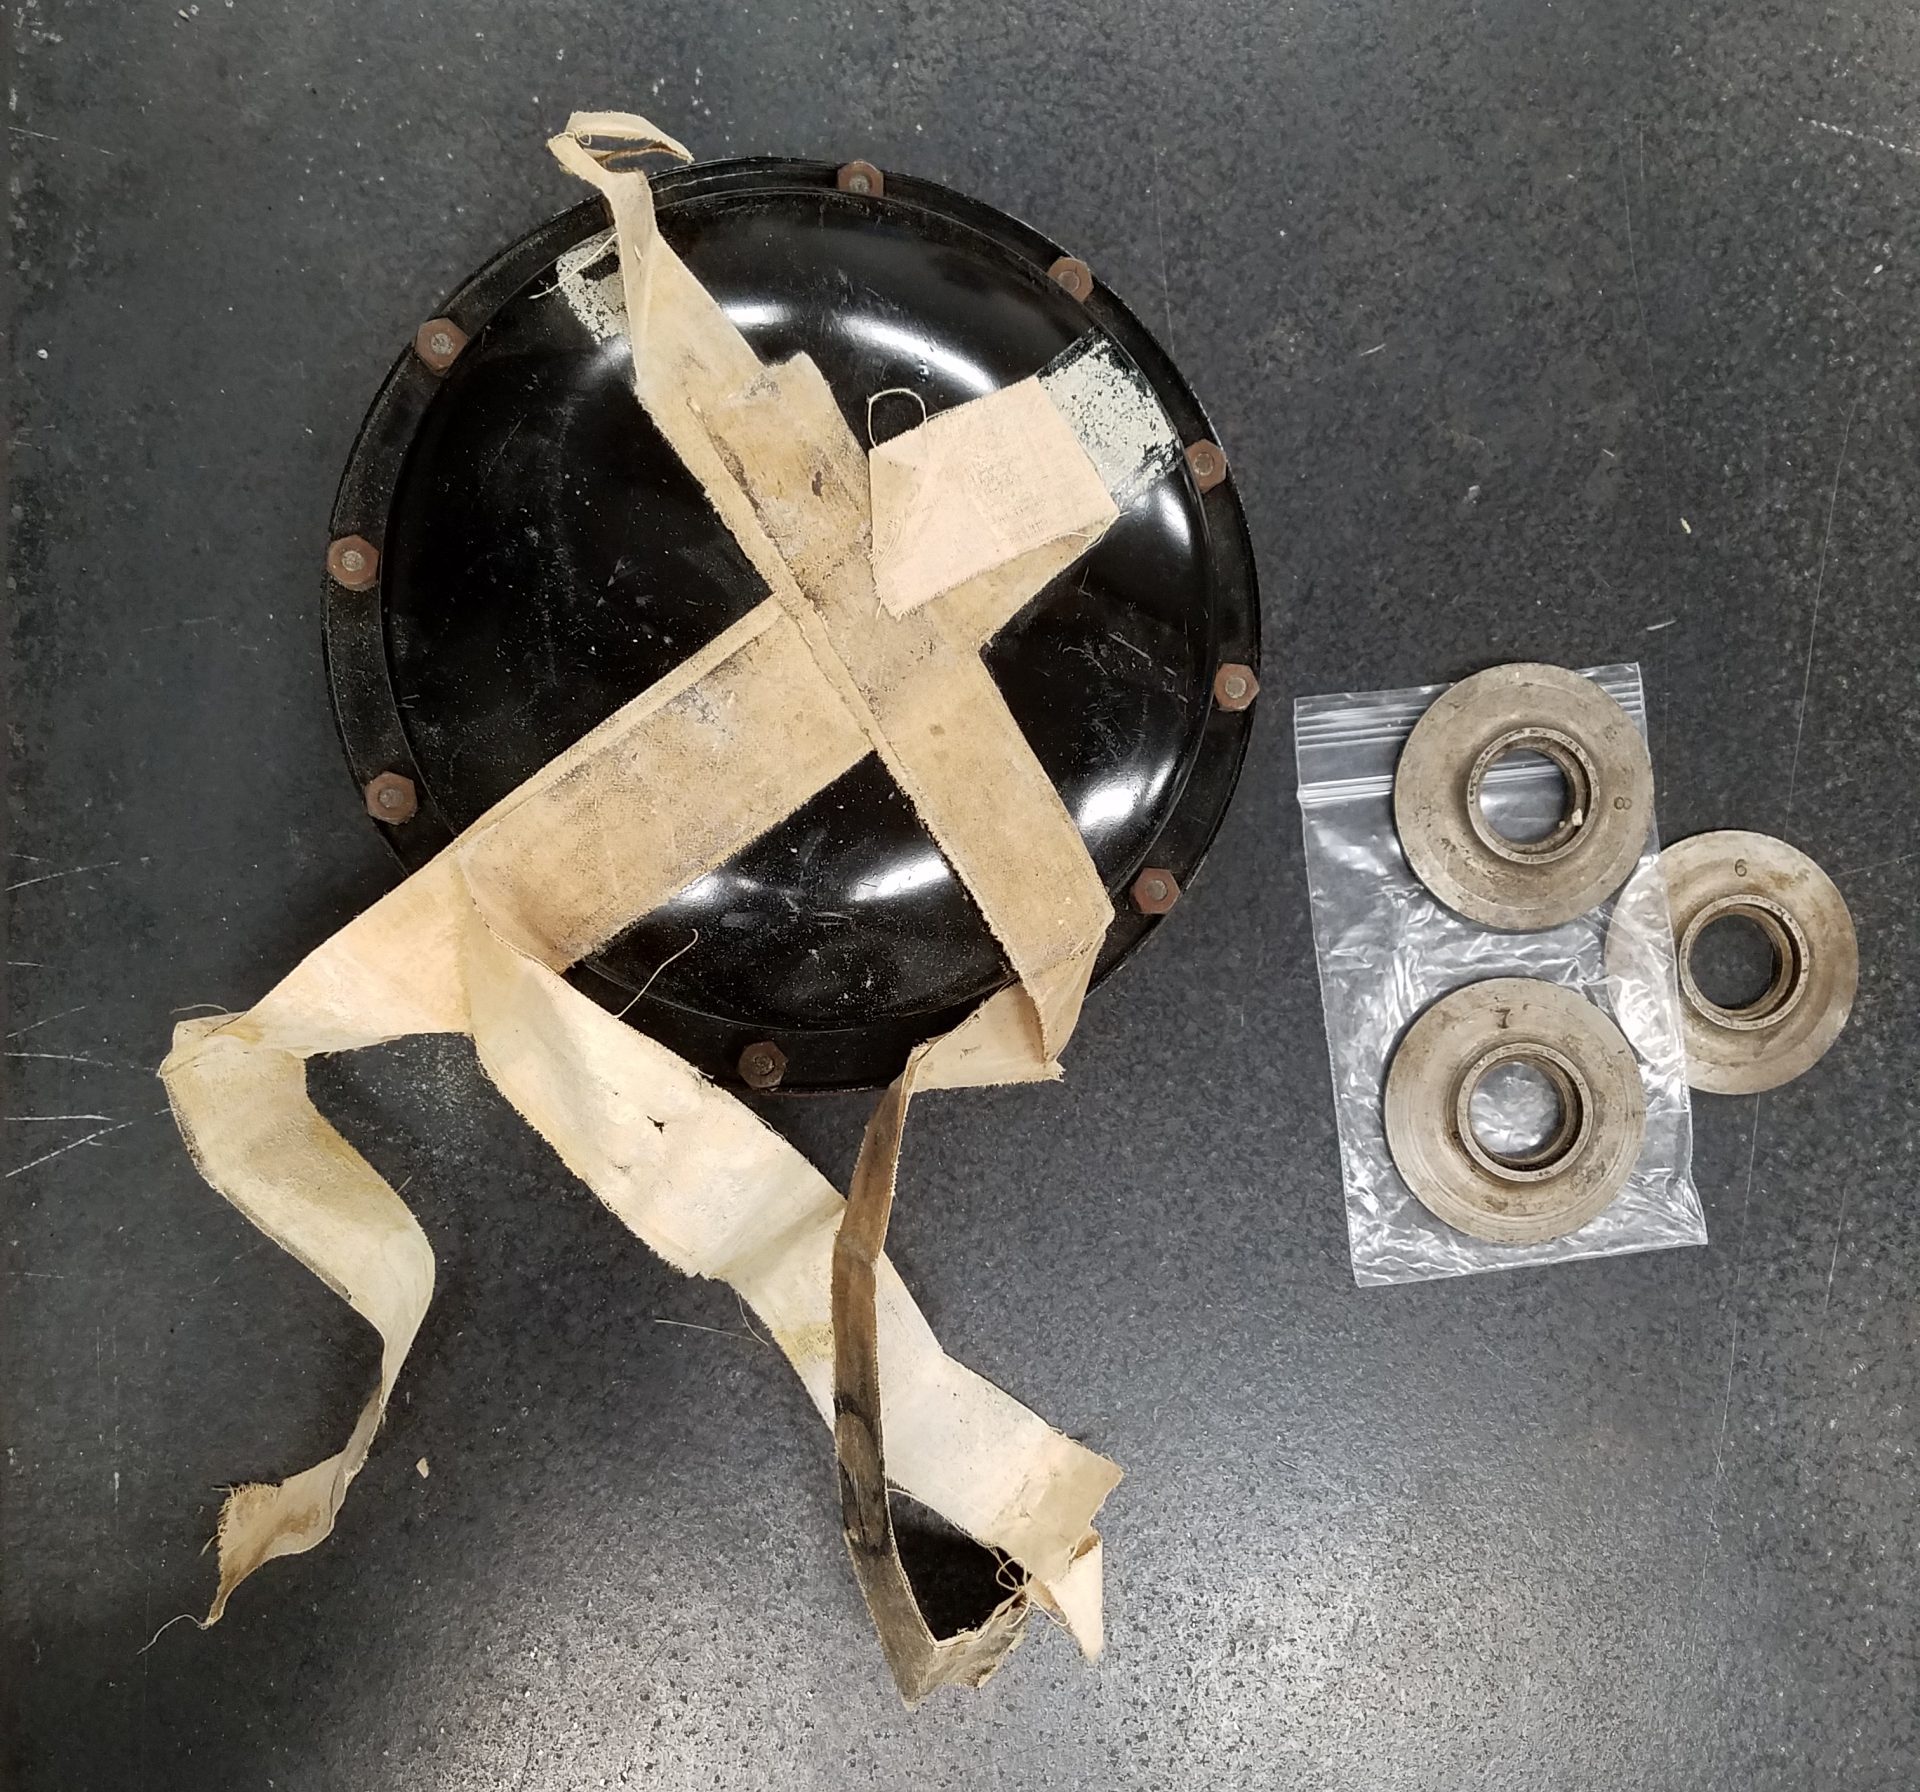
Well, for one, here are the plates I pulled out of the bike when I originally disassembled it (I try to keep stuff like this for these sort of reasons):

As you can see, the bike only had four plates in it. Maybe I thought there was a “good” reason for using only four, maybe I put all 5 in and discovered the clutch would not work, or more likely, discovered that all 5 would not fit into the basket.
Existing Clutch
Here are the cleaned up plates from the replacement clutch from 25 years ago (you can see I found the “extras”):

You can see I’ve sharpied some measurements onto them. You’ll see the “New Old Stock” clutch below, but one of the things I discovered was that these plates, both the plain steel and the driven plates, are considerably thicker than the NOS plates. By quite a lot: 20 thousandths on the plain plates and I think 30 or 40 thousandths on the driven plates. It all adds up to a pack that cannot physically fit into the confines of the “basket”. The notches and splines all interface properly, but I wonder if they’re for another model.
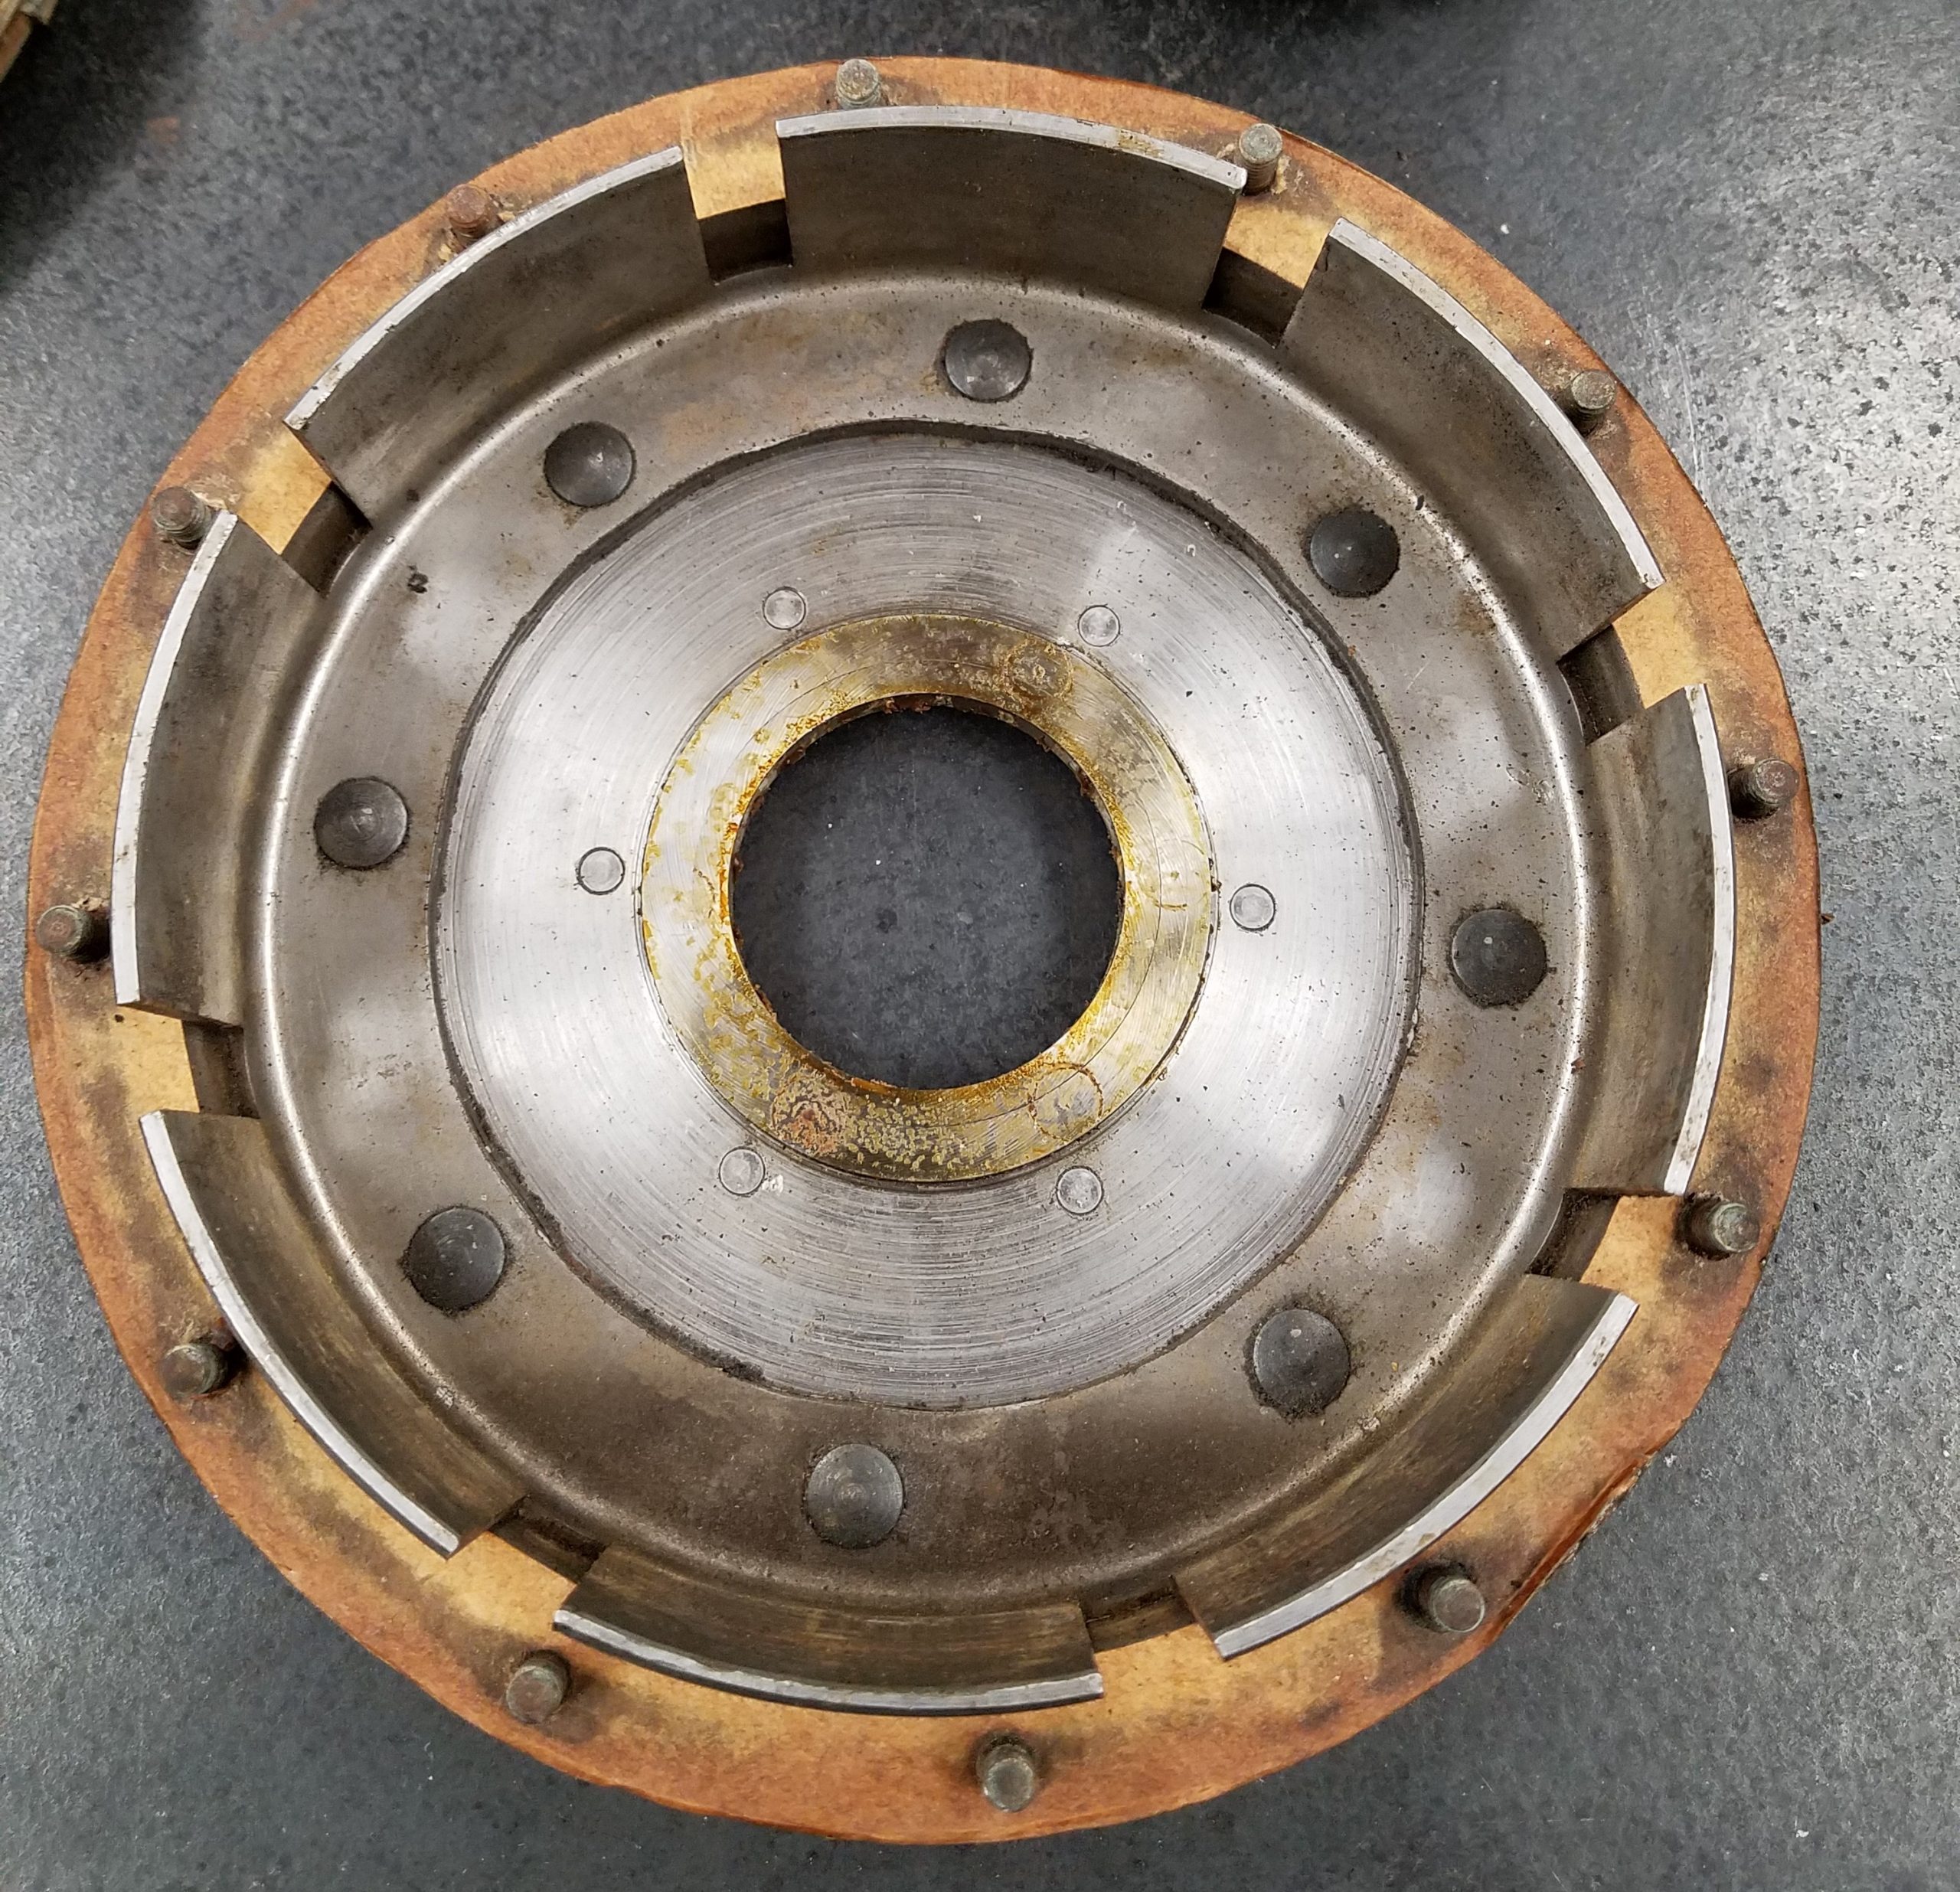
Here’s a close up of the original clutch basket:

The wear in the slots is not good, but more of an issue was the wear in the bearing race on the back. This outer “basket” (chainwheel assembly) rides around the inner hub on 18 hardened steel rollers, which should be a fairly close fit. The rollers are all nominally .25″ in diameter, the old ones were all .249″ in diameter and I’m confident the bearing surface was equally worn. There was quite a lot of slop when tightened down…the thrust washer was also worn, which I was also able to find a replacement for.
NOS Clutch
My friends at British Cycle Supply in Nova Scotia had what I imagine has to be one of the very last NOS clutch assemblies left in the world on the shelf! This included all of the parts from the rollers on up to the outer cover. They also had thrust washers in the three different thicknesses.

I knew it would be “shopworn” and rusty/dusty from kicking around various dealer shelves for several decades. Here’s the various bits as it came apart for cleaning:


It was a fair amount of work cleaning these up, especially the plates. Once the grease and remnants of the cosmoline were gone, they all went into the Evaporust for 24 hours. I was a bit worried about the driven plates with their fiber inserts, but they all came out fine. A few shots below:


Thankfully everything came out looking pretty good, sound and usable.
Reassembly
Putting it back together was fun, until it wasn’t. More on that in a bit. Here’s the chainwheel and inner basket in place.


At this point, you can test the clutch. So I reached up, pulled the lever, and…nothing. No resistance at all, the clutch wasn’t engaging. Hm. So I figure maybe the cable needs adjusting, or the adjusting screw on the other side needs attention? I proceed to look, and nope. So off comes the spring plate to see what might be causing a problem.
Pushrod Problem, Bodge
The only thing it could really be I concluded, after poking around and scratching my head a bit, was the pushrod. How could that be? It should essentially be a non-wearing part, being hardened and riding in a hollow shaft which protects it. So I pull it out for an examination.

There is no official measurement in the parts book I have or the manual, but poking around online got me one: It should be 11.25 inches long. This one is a bit shy of 11 inches. This explains the missing clutch plates! By leaving plates out, you can get the spring plate to sit lower in the basket and engage with the shortened pushrod. How this came to be missing a quarter of an inch is beyond me. I would say you could engage the clutch literally millions of times before wearing that much off of a hardened rod.
I ordered a new pushrod, but also learned of a common “bodge” which is essentially a permanent fix: Cut the pushrod in half. Really. Because it runs in a long hollow shaft only just large enough to fit it comfortably, you can insert a .25″ ball bearing between the two halves and it will work indefinitely. I had one of the old clutch rollers, which are .25″ diameter and, importantly, .25″ long, and used one of those. The bodge worked, and the beezer has a working clutch again!
Final Assembly
I put it all back together, with the bodge. Here’s the dust cover in place, and chain adjusted (adjuster is all the way at top of its travel):

Only problem now was needing a primary cover gasket. Brit Cycle couldn’t help me there, but I found a seller on eBay with some plunger-frame primary gaskets. I thought I was buying three but here’s what I got:
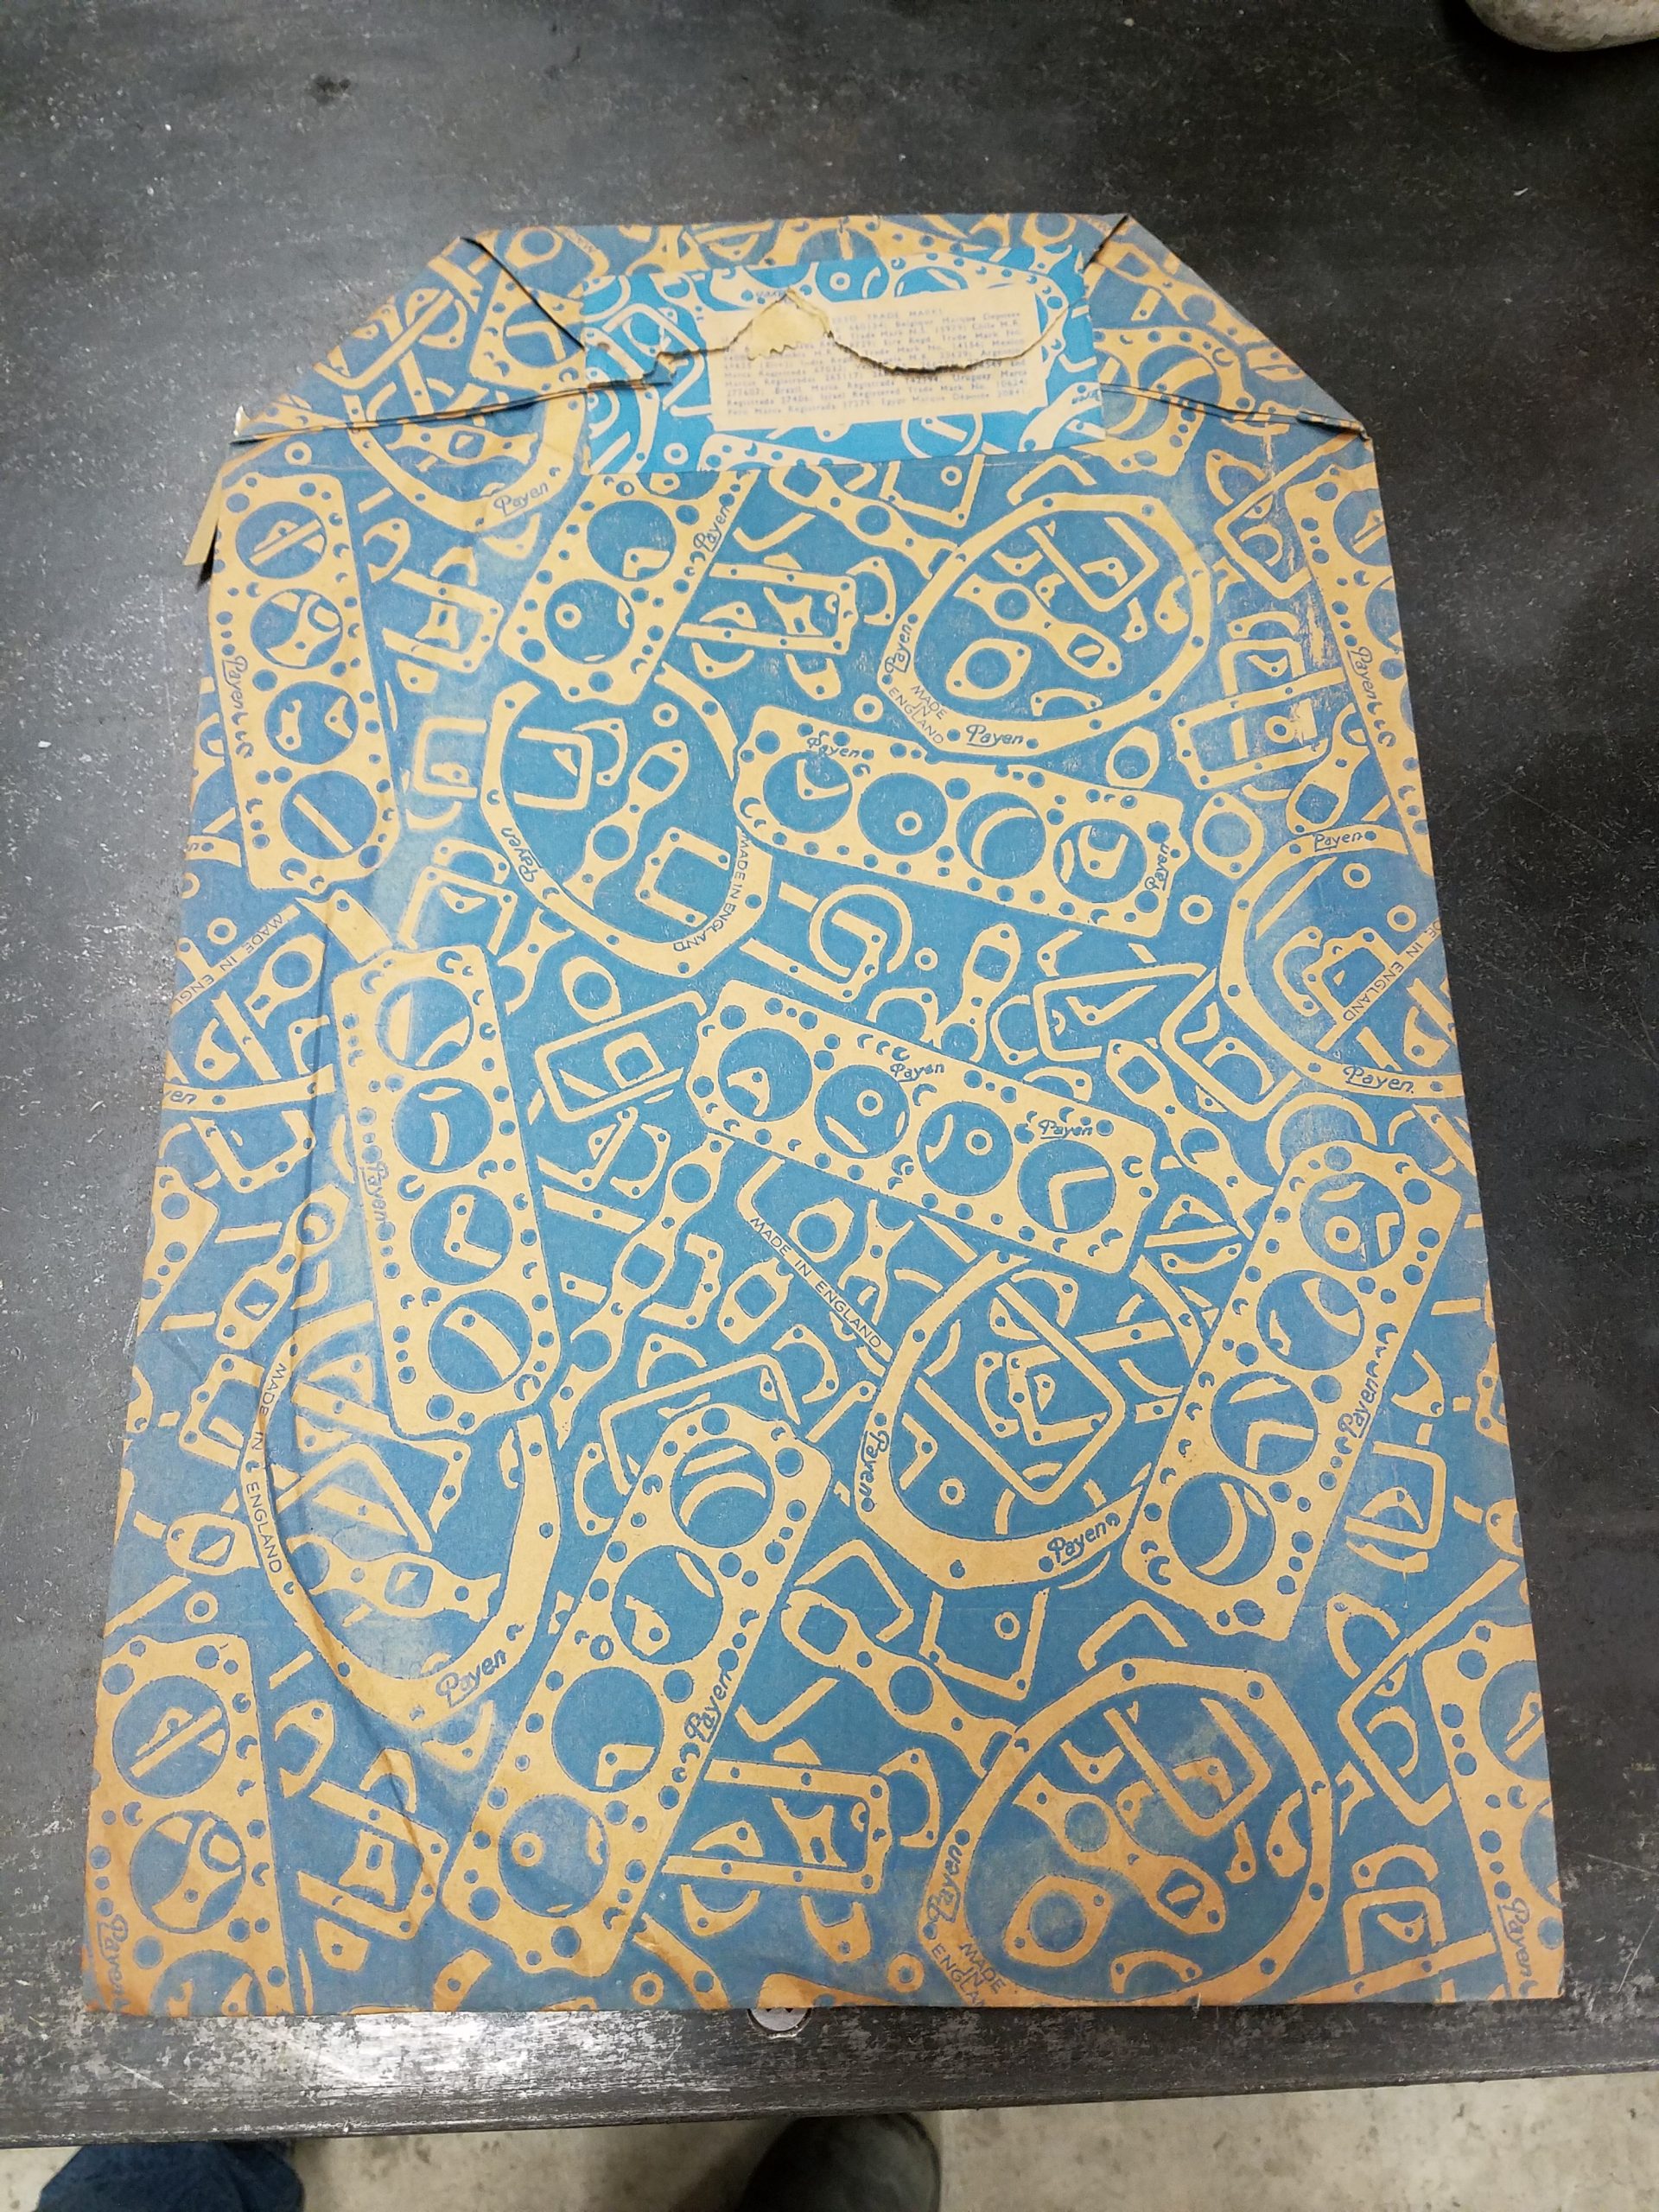

The gaskets are incredibly fragile, but I was able to only break one in my efforts to put the cover back on. I used blue Hylomar on the faces in addition to the gasket, so hopefully that will be enough to keep the three tablespoons of oil in the case inside. And hopefully not in the clutch itself!

It took me a few minutes to puzzle through the brake controls, should have taken notes, but apparently not my “style”. I have yet to ride to experience the fruits of my labor. Soon!
looking spik and span brothers. amazes me how they look after a good clean down