I offered to store a friend’s 1994 Triumph Daytona 1200 for them over the winter as a favor and as part of the deal I agreed to get it back into running condition…wait. Something doesn’t seem right there…so much for deal-making savvy. Ah, well, what are you going to do?
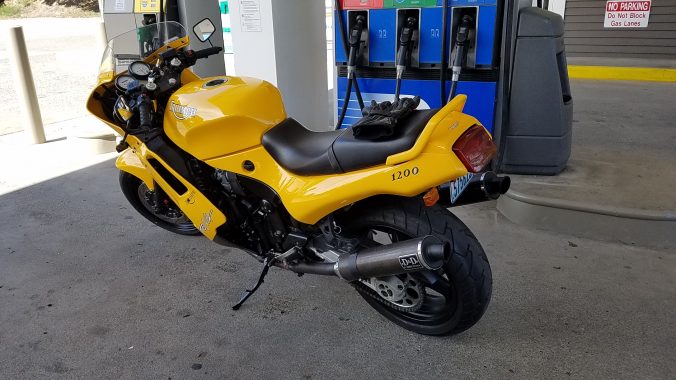
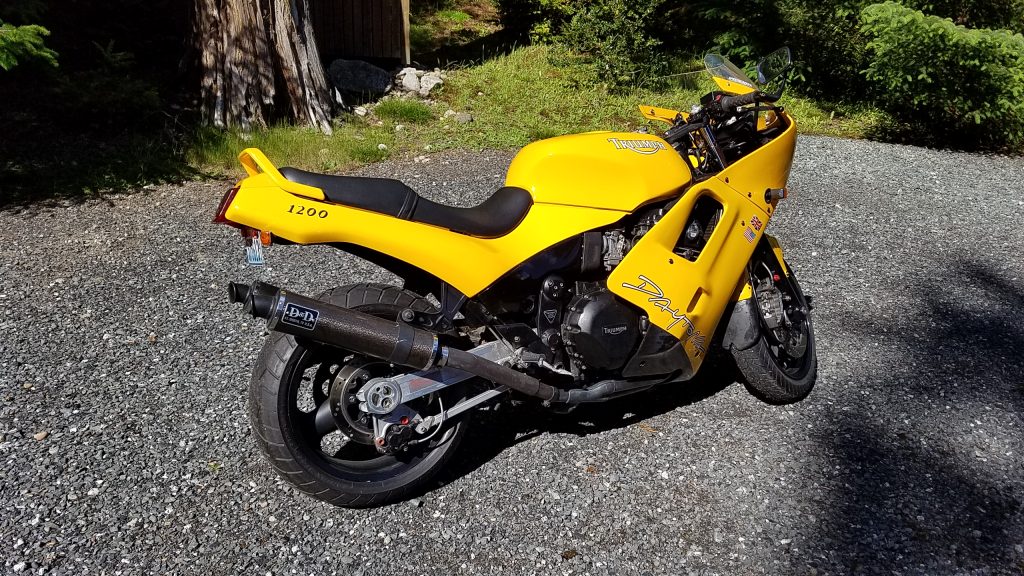
My buddy bought this English-market Daytona back in the late 1990s, when I had a very similar 900cc version (which can be found under “past indiscretions” elsewhere on this site). This bike has a 1200cc engine, bright yellow coachwork, and about 140hp–a decent enough recipe for fun. It sounds great–the pipes on it are the D&D slip-ons I had on my 900, which I passed to this bike before the 900 went away, and the rumble makes it clear there is some steak to back up the sizzle.
The main issue with this machine is that it has never really run “right”. It would get awfully fussy when hot, sometimes not idling or simply dying when given throttle from low in the rev range.
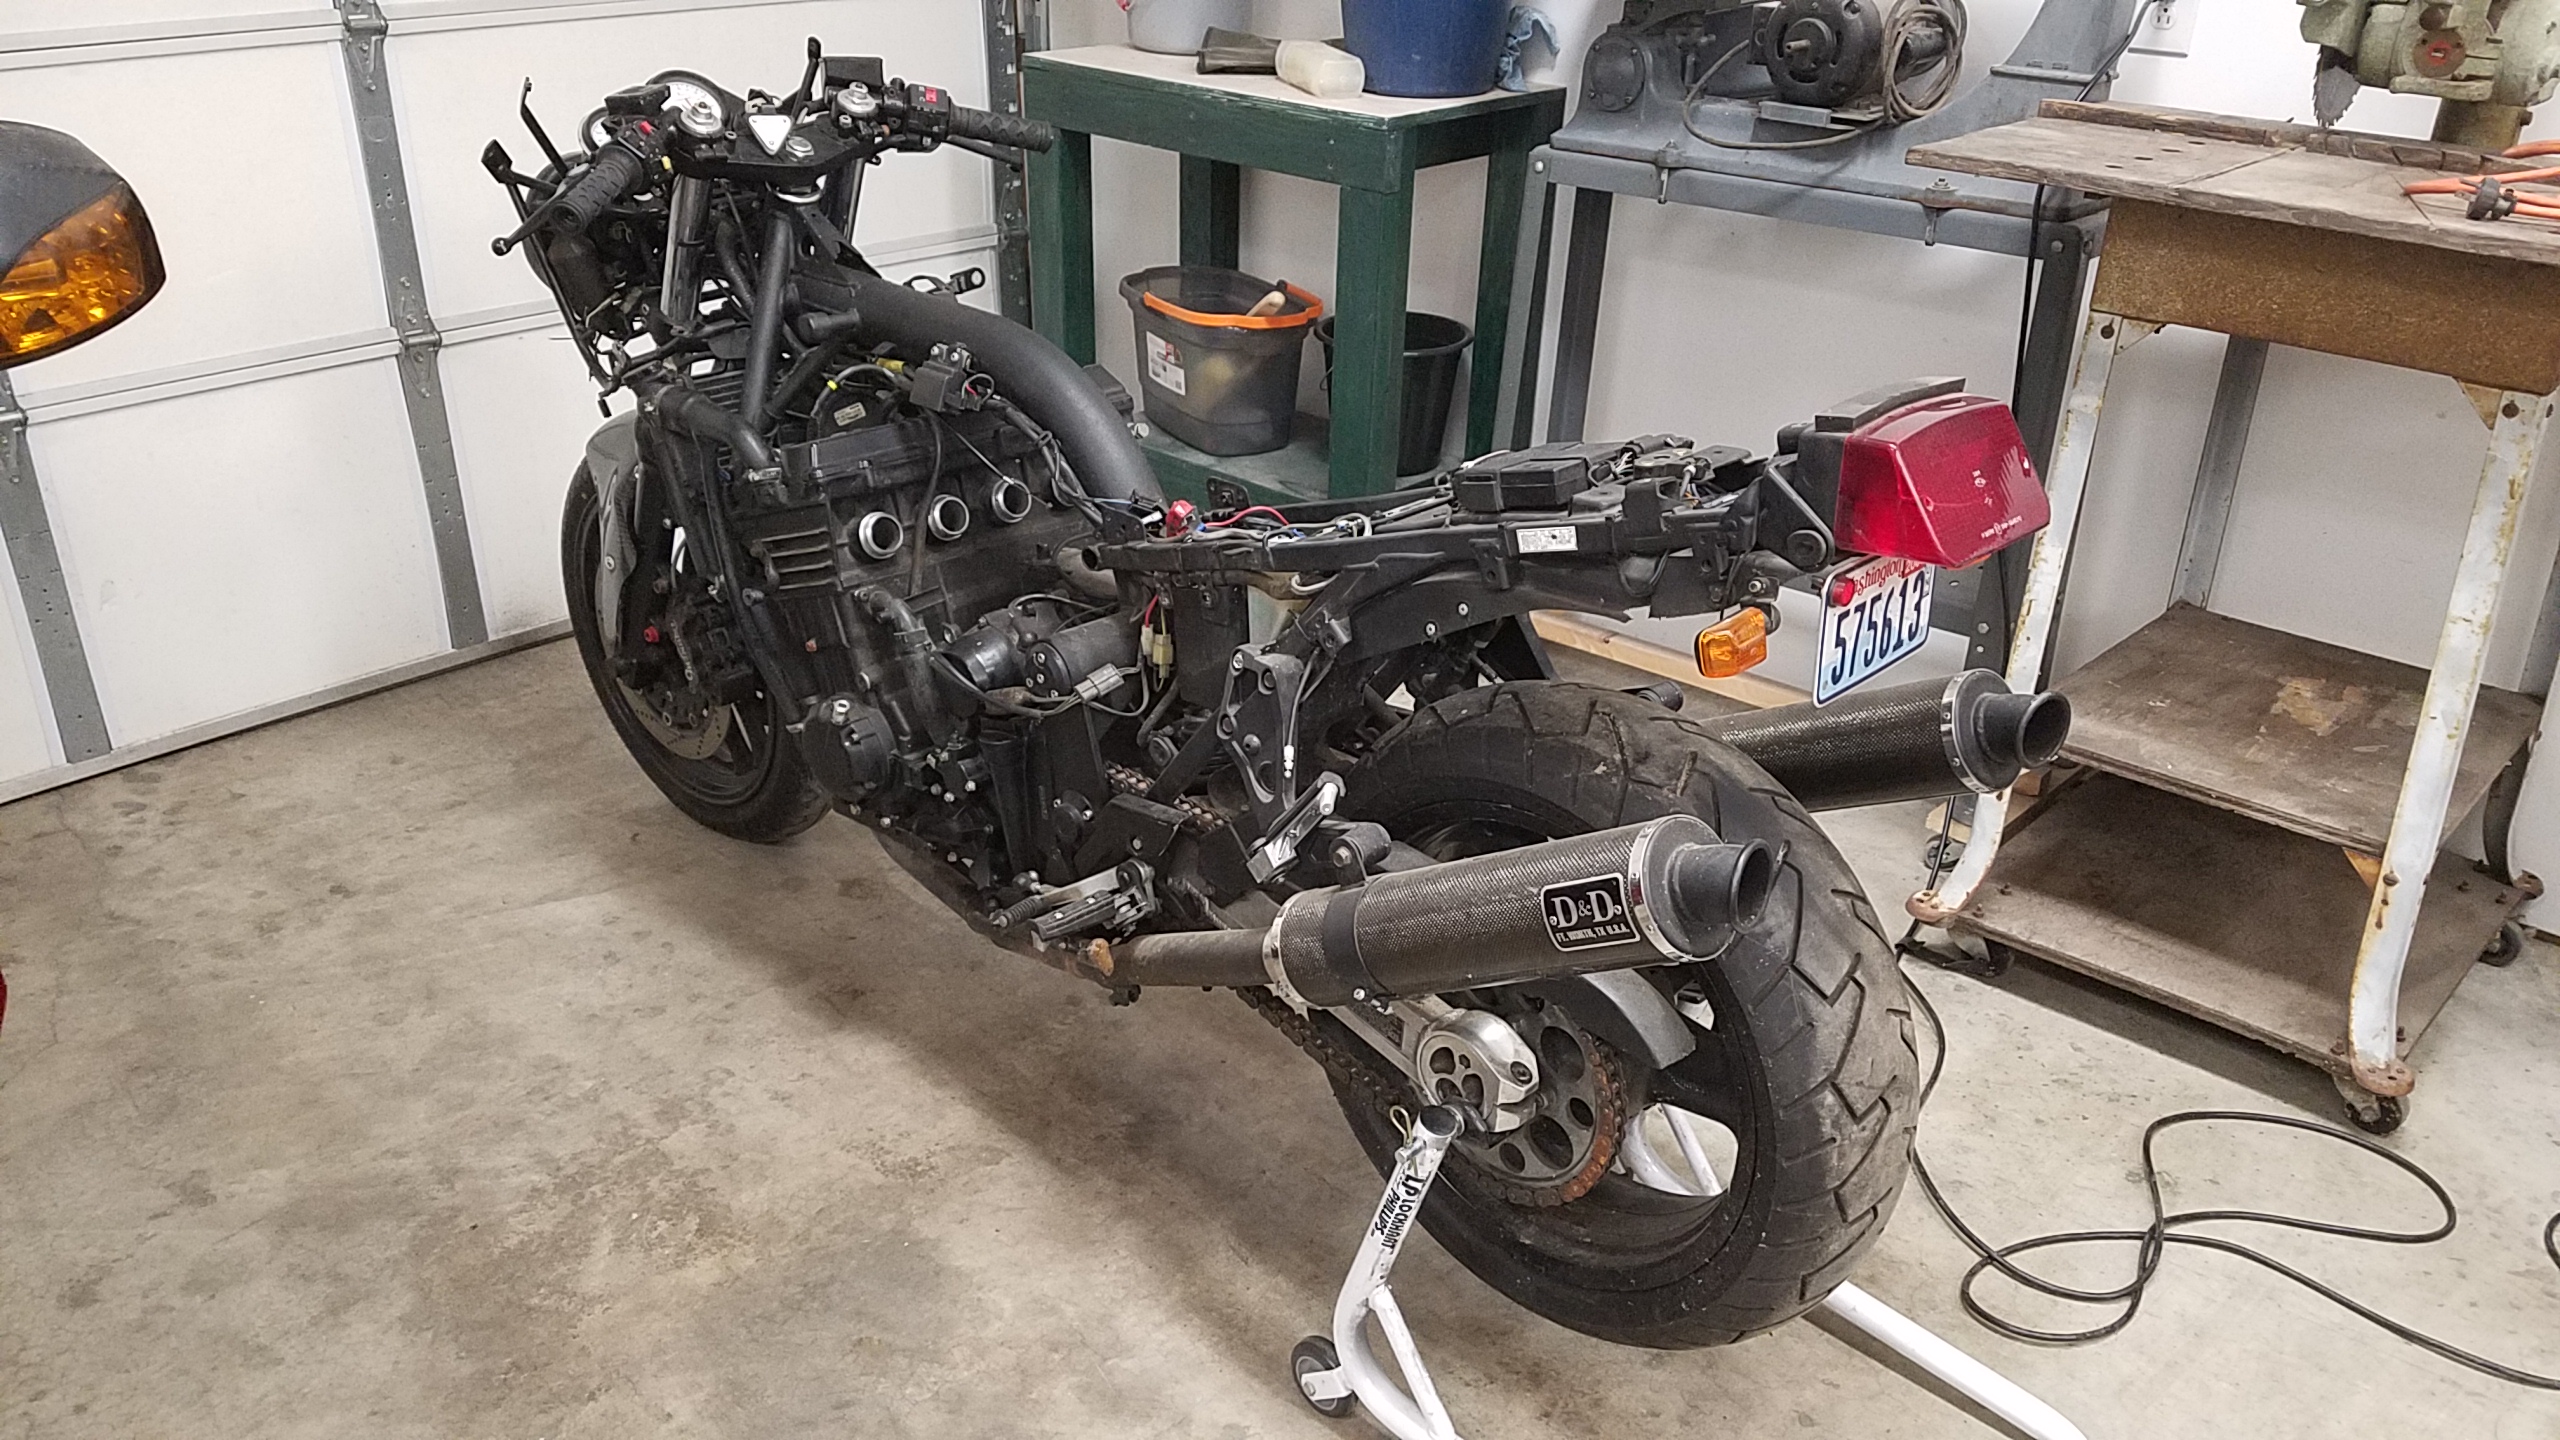
The guy it was purchased from also owned a sawzall and was from the “if I can cut it away, the performance will be improved” school of dumb-assedness. For example, the airbox, which is a tuned chamber, had holes in it, because “more air!!!!!1!”. Various plastic bits had been crookedly snipped. The front fender was a cheap-ass carbon fiber jobbie. And so on…
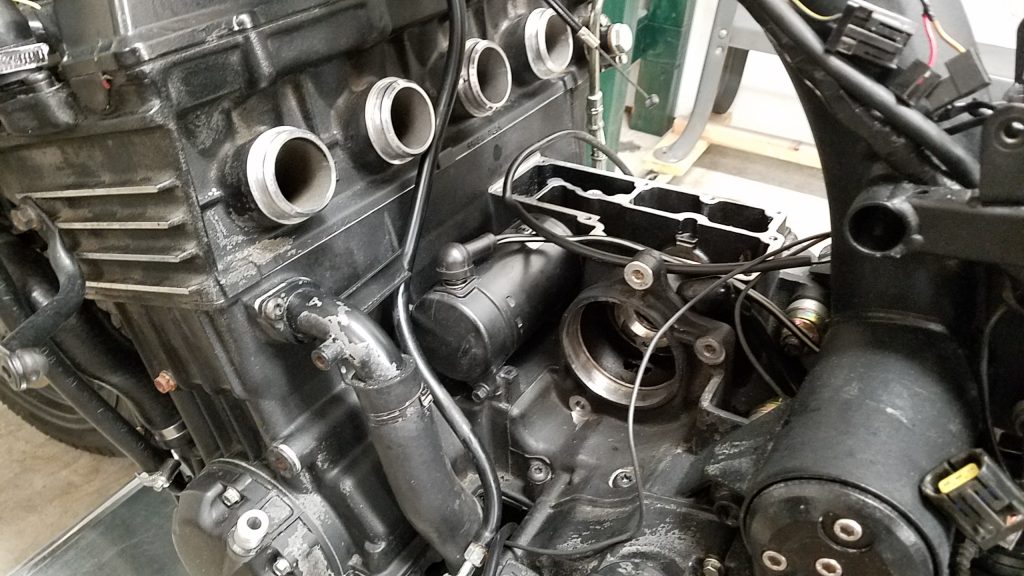
The first task was replacing the sprag clutch, which had succumbed to age and prevented the bike from starting. The insides of the engine were surprisingly clean and show little wear–the clutch discs have no measurable wear, for example, after close to 30,000 miles. The replacement was a bit fiddly, since you really need about six very tiny arms to do it, but it went together in the end.

The next job was to rebuild the carbs. The insides were coated with an odd green crust–which was absolutely impervious to all chemical cleaners, but which could be scraped off with your thumbnail. I put a Dynojet kit in it (as the original emulsion tubes were worn), set the float heights, replaced everything rubber, and back on they went.

The Daytona has a “lovely” airbox design, which cannot be removed without taking the carbs out, and vice versa, somehow. It’s pretty tedious getting the fuel system on and off, especially getting the fuel and vacuum lines onto the tank, as they are right against the frame. I have taken this one off and on about 351 times, and may never regain use of all my fingers.
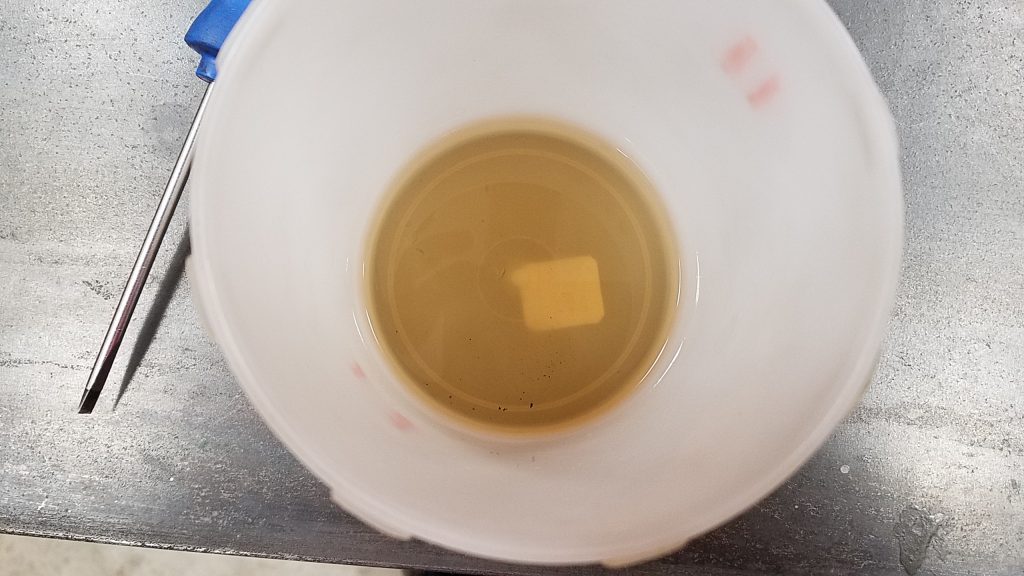
Speaking of the fuel tank, last summer, my friend and I used a “liner kit” from Caswell, so that’s all sorted, right? Ahem. When I went to run the bike after spragging and carbing, it wouldn’t run.
A peek in the tank confirmed the new lining had failed. Well, shit. To be clear, my friend and I are both “read the instructions” type of people, Caswell leaves out a crucial step, in my opinion. Just before you mix their epoxy, they tell you to:
Place a hand full of drywall screws into the tank and shake them around vigorously for several minutes. These will dislodge any loose particles of rust. In the case of Fiberglass and plastic tanks, this will rough up the tank interior, improving adhesion.
Rinse out the tank with about 1-pint of acetone or lacquer thinner, then set aside and allow to dry. Use an airline to blow air into the tank to aid drying.
We did that. But missing from their instructions was the following step, which didn’t occur to me because it had been so long since I did the BSA’s tank: you have to run a “rust converting solution” through the tank if it was rusty before the epoxy goes in, or what happened to us will happen to you. The epoxy bonds to the rusty surface, but non-converted rust is mechanically weak (very weak), and over time–a short period of time!–that rust will detach from the underlying steel, epoxy still bound to it. You then have a mess.
I used a competitor’s kit, from Eastwood, in the BSA a decade ago. The Eastwood kit contains a bottle of Metal Ready (a rust converter) to wash the tank with after you use your nuts-and-bolts. (I just took a look in that tank and the lining still looks good.) I think the Eastwood kit is cheaper, too!
This is all just a word to the wise. I don’t even care that Caswell didn’t include the rust converter juice–but at least mention that it’s necessary, eh? Caswell was pretty dismissive, telling me we just didn’t do our prep right, as their linings simply don’t fail. Nice to know gods walk the earth with us mortals. (I imagine their epoxy is an OK product–just be sure to actually prepare your tank properly, and not just according to their instructions. I did the Morgan tank with the Caswell kit, and did not use rust converter there, either…but thankfully there wasn’t much rust in there. Fingers crossed.)
In any case, the thought of doing the tank again, and the expense of the stripper and a new lining kit, had me contemplating dropping the Daytona off the back of the ferry. On eBay, however, I found a near-perfect tank (and fender!) for sale in England, and struck a deal, which included the seller throwing into the box some replacement inner fairing panels (which had also fallen victim to the Sawzall King).
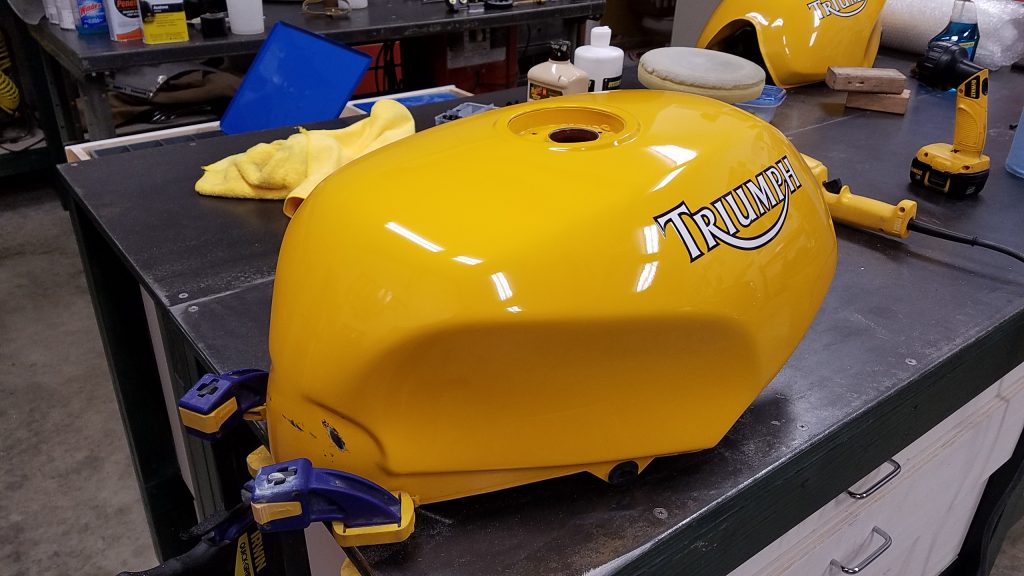
The new tank arrived in only a few days, and still has the factory liner in it. It’s astonishing how much better this tank is. I put it on the bike, fired the Daytona up, and rode it to the gas station and back…that makes 9 miles the bike has traveled since 2005, the last time it had tabs on it. It runs really well! I haven’t ridden it further because, well, 12-year-old tabs are hard to explain away if you get pulled over…

This Daytona is a surprisingly solid bike to ride, considering it’s 25 years old, and has a boatload of power from low-down in the rev range. On paper my Sprint has the same power, but below 3K the Sprint is not happy…and it has a lower red-line than this machine, so overall feels a bit less zippy.
The brakes on the Daytona feel better than the Sprint, too, which I put down to the typical sticky later Triumph calipers and stock rubber lines rather than the braided stainless on the yellow machine. I’m going to have to think about changing that up a bit.
Other impressions? The Daytona feels wider than the Sprint, which is ridiculous, given the Sprint has luggage on it, and the center of gravity is definitely much higher on the yellow machine. The Sprint also gets almost 50 MPG around town, and I think the Daytona gets roughly half that, about 25. Also, the bar-end mirrors are, to put it in technical language, garbage, but maybe it’s just getting used to them?
Anyway, it’s nice to move one of the machines in the shop from the “doesn’t work” to “works” category. I just need to get my buddy to bring his helmet and himself to the island so we can go for a ride!